Classic Hairstyles: The Beehive
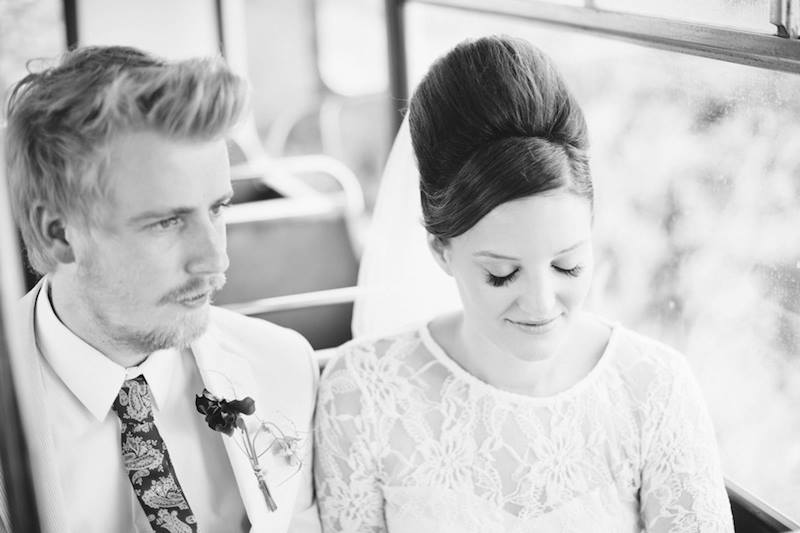
Thursday March 5th 2015One of my absolute favourite styles is a beehive. It is both classic and iconic and can be adapted in so many ways to suit both strong vintage styles or styles with a very modern twist. The style was created in 1960 and has been cherished throughout the decades. This style is recreated more today than any other Vintage Hairstyle.
The Beehive received its name, as it actually resembled an earlier, more traditional beehive. The style was originally created by the award-winning hairdresser Margaret Vinci Heldt (owner of Margaret Vinci Coiffures in downtown Chicago) she was asked to created and design a new hairstyle that would reflect the modern age and her inspiration was a Fez hat that she had at home. The style remained strong throughout the 1960’s and was the birth of new Kitsch styling for a new generation.
The beehive is easy and quick to create at home. Follow our step by tips for your own twist on this timeless classic!
Products – You will need a soft bristle brush, section clips, a tail comb, Kirby grips, 2-pronged pins and very strong hairspray.
Backcombing is a technique used to create height and volume to a hairstyle. Take small sections and place a comb or brush at the root of the section work in up and down motions without removing the comb. You know you have completed this correctly as all hair will be stud on end away from the root.
STEP 1 – Part the hair in either a centre parting or a side parting. Make sure hair is smooth and brushed with no knots.
STEP 2 – Either with your 2 thumbs or using your tail comb slide up in front of both ears until your thumbs meet the crown of your head. Making this as neat as possible section of the 2 neat sections you have maid with section clips. Tie the back of the hair out of the way for the time being.
STEP 3 – you may now want to make yet another 2 sections at the front of the hair. Measure from the front of your parting around 2 inches and take this whole section on each side and change the section clips to in cooperate this hair only so the front section is now loose.
STEP 4 – If you are looking for a subtle beehive you may feel that backcombing the hair is enough to achieve the height a volume for a small beehive. If you want to see some notable height you will now need to insert padding onto the crown of the head. In most case and if you have thick hair you can take a small triangle section on the top of the head in the crown area and backcomb this and roll and secure to create a bump for the style to form on top. Secure this with Kirby grips. You can buy a donut hair ring and cur this in half this also works really well as padding. You can even make your own using fake hair this is a really great way to make the hair look more full if you don’t have thick hair.
STEP 5 – Now backcomb the rest of the front section by taking small sections and lightly teasing at the root either using the tail comb or the backcombing brush you should eventually have a mass of wonderful thick hair.
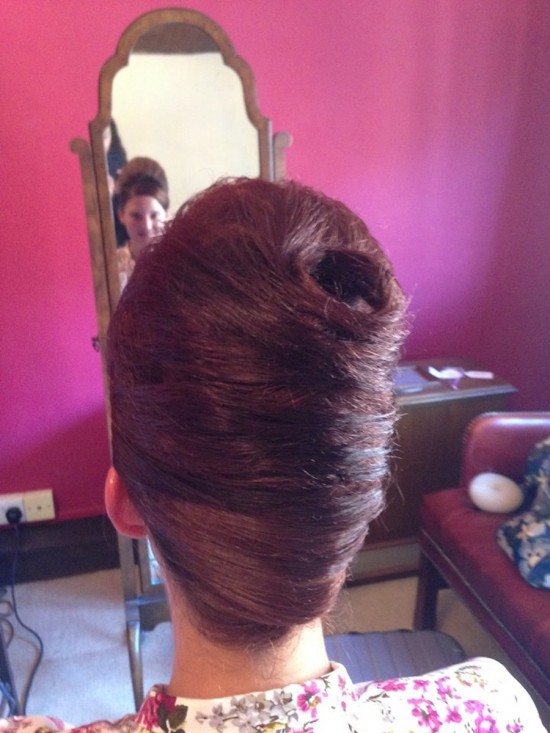
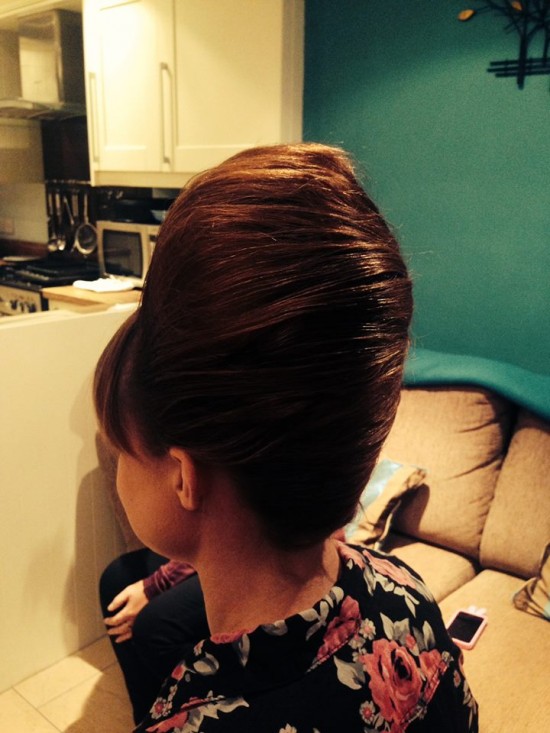
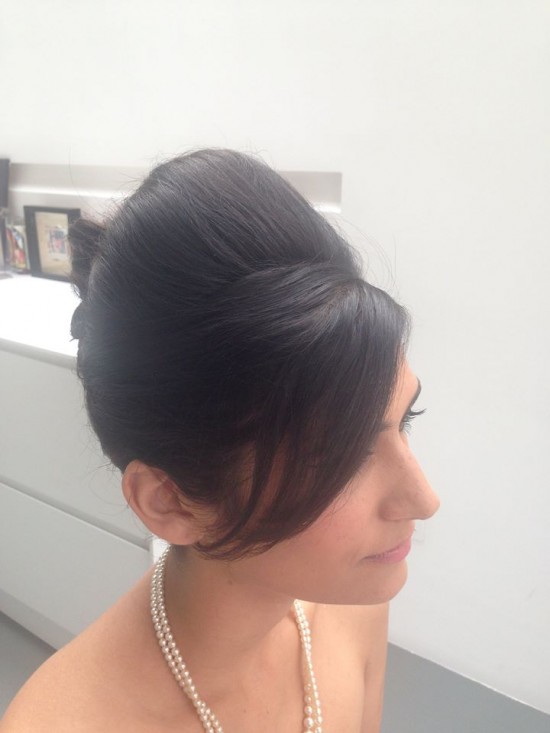
STEP 6 – Start to lay the hair over the padding and begin smoothing the top of the hair over the padding with a bristle brush, remember you are smoothing the top of the style not brushing out the backcomb. The hair should be nice and stiff and easy to manage. Either twist and clip the hair at the back of the head or pin the ends of the hair into the padding which ever you find easier.
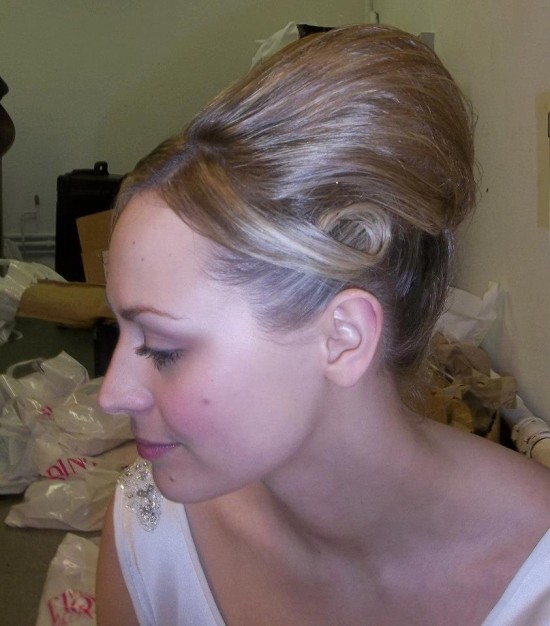
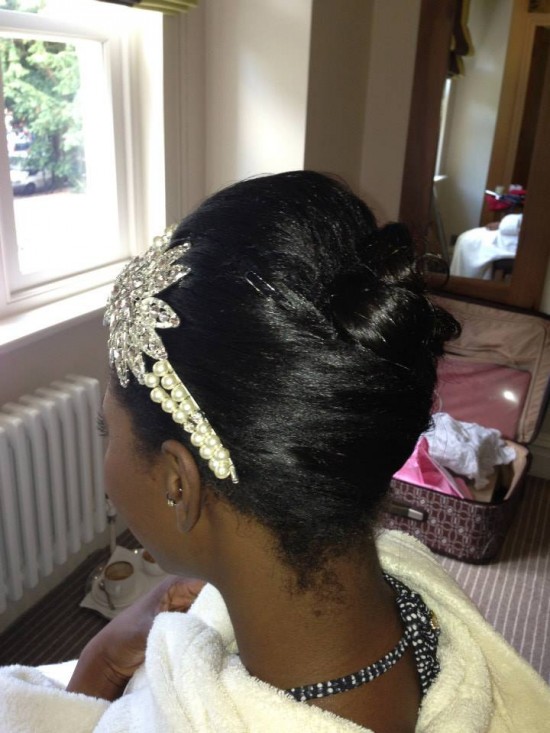
STEP 7 – If you are wanting a half up half down style you can now remove the back of the hair and either curl or let it hang straight. Remove the front section and either put behind your ears and wear fairly loose or smooth back using the ends to create detail at the back of the beehive. For those wanting an up style you pleat the hair, brush up in a pony tail and then make a loose bun, curl and then pile up in sections or even a simple ponytail looks great with this style.
Amanda x (Lipstick and Curls)